Photography That Converts: Lighting, Angles, and Backgrounds
Check out our Hermès collection and Birkin bags!
Every time we scroll through luxury brand campaigns or high-end product catalogs, we're witnessing the power of photography that doesn't just show, it sells.
The difference between a snapshot and a conversion-driving image lies in three fundamental elements that luxury brands have mastered: strategic lighting, intentional angles, and carefully curated backgrounds.
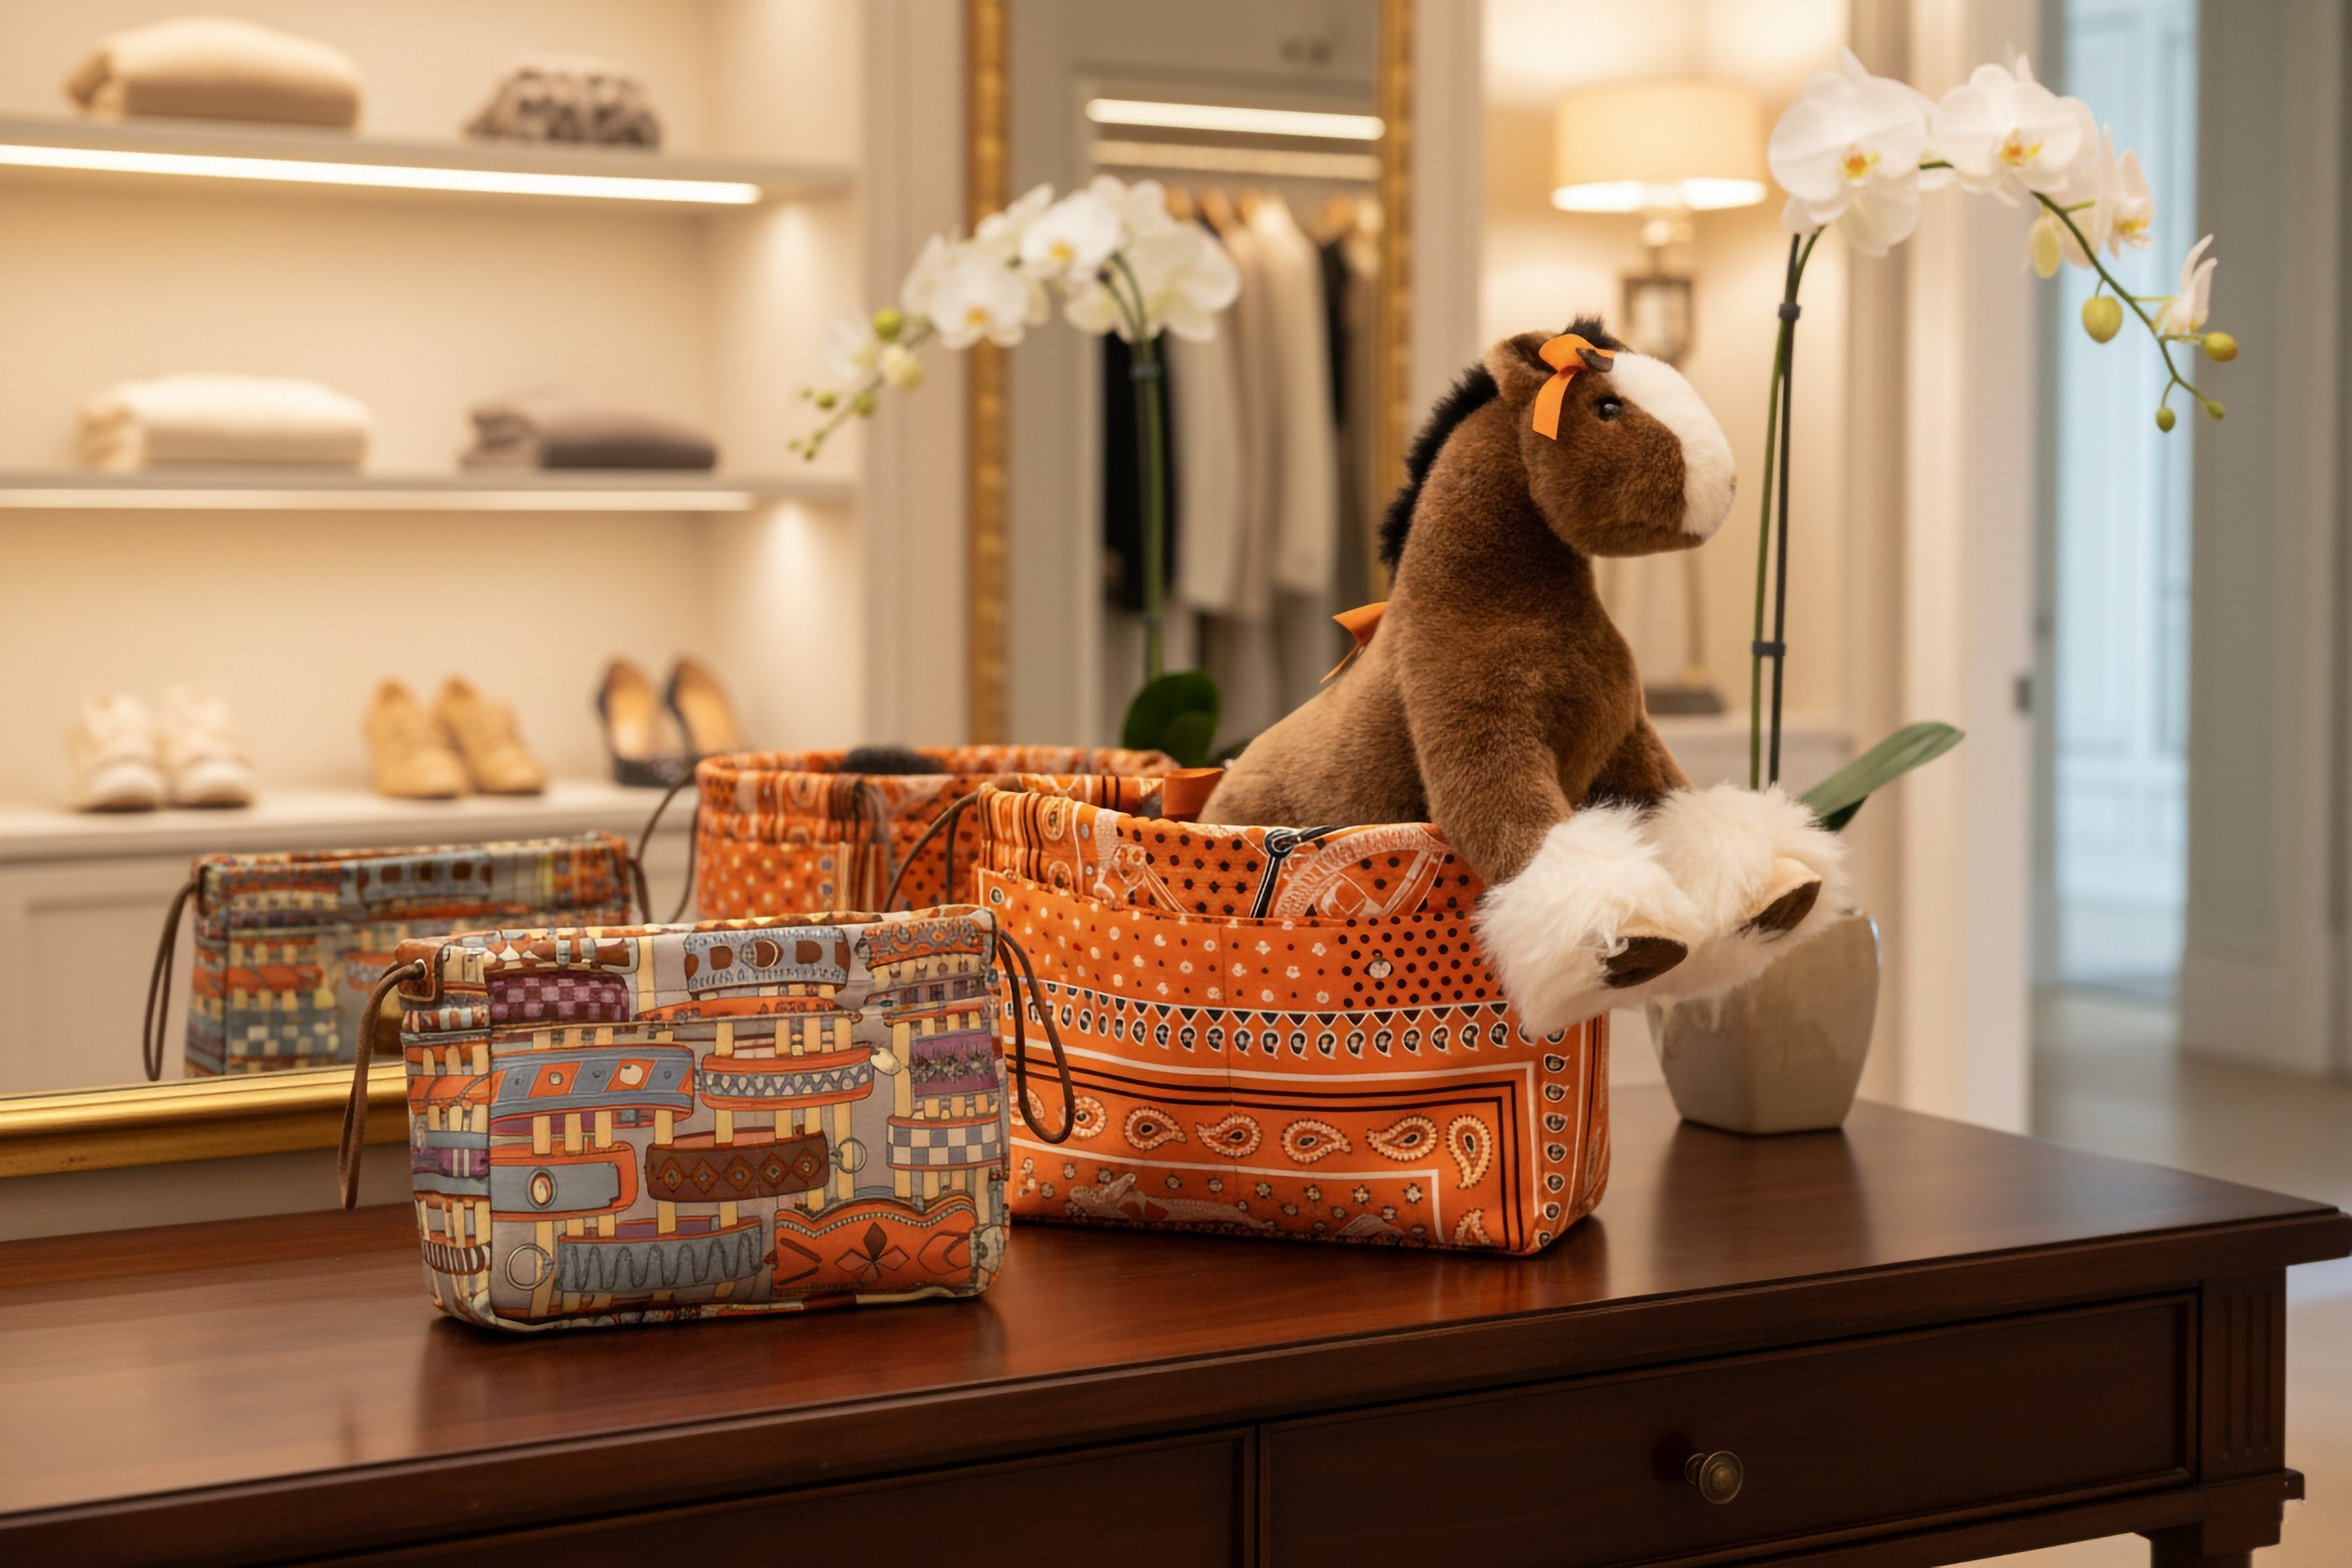
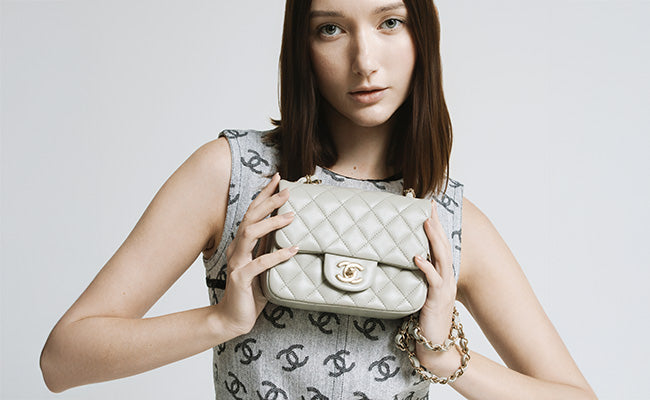
When you look closely at the imagery behind brands like Hermès, you can see how lighting, angles, and backgrounds work together to create desire and instantly communicate quality, even before anyone reads a word.
Whether you're shooting luxury handbags, jewellery, or any high-end product, understanding how light shapes form can transform your results. Angles influence perception, and backgrounds set the stage for the overall mood.
These elements can take your photography from amateur to seriously compelling.
The best brands use techniques that aren’t really secrets, they’re skills anyone can learn with a bit of practice and attention.
Key Takeaways
- Strategic lighting sculpts products to highlight textures, create depth, and evoke the premium quality that justifies luxury pricing
- Camera angles dramatically influence how viewers perceive product size, importance, and desirability in marketing imagery
- Thoughtfully chosen backgrounds either enhance product focus or provide lifestyle context that helps customers envision ownership
Essential Elements of Photography That Converts
If you want photos that truly convert, you need to master three pillars: lighting (to set mood and accentuate luxury), backgrounds (to direct attention), and angles (to make products look irresistible).
The Role of Lighting in Luxurious Photos
Lighting separates amateur snapshots from images that make people stop and stare. The way you light a luxury item can make all the difference.
Natural light gives that authentic warmth luxury buyers love. Try positioning your subject near big windows during golden hour for a soft, expensive-looking glow. On overcast days, you get natural diffusion, no harsh shadows, just smooth, even light.
Key light placement at a 45-degree angle adds depth and brings out textures, especially in leather goods. It’s that sculpted look you see in high-end product shots.
Fill lighting is your friend for keeping details out of the darkness. A simple reflector or a dimmer secondary light can keep the mood without losing shadow detail.
| Lighting Type | Best For | Key Benefit |
|---|---|---|
| Window Light | Lifestyle shots | Natural warmth |
| Studio Key Light | Product details | Complete control |
| Soft Fill | Shadow management | Detail retention |
Rembrandt lighting, with its signature triangle of light, adds a touch of sophistication to portraits with luxury accessories.
How Backgrounds Influence Visual Focus
Backgrounds can make or break your photo. Choose wisely and you control the viewer’s eye.
Solid backgrounds in neutral shades (cream, grey, black) cut out distractions. Let the product shine without competition.
Use depth of field to blur backgrounds and make your subject pop. Shooting wide open (f/1.4 to f/2.8) gives you that pro-level separation.
Complementary colours can make your product stand out, think soft beige for orange leather or deep navy to set off gold hardware.
Add texture with subtle backgrounds like marble for jewellery or linen for handbags, but keep it understated. Too much and you lose focus.
Environmental backgrounds work if they support the luxury story. A marble countertop? Sophisticated. Cluttered desk? Not so much.
Why Angles Make or Break Elite Visuals
Angles shape how people see your product, plain and simple.
Eye-level angles feel natural and build trust, great for lifestyle shots that invite viewers to picture themselves with the item.
Slightly elevated angles (15-20 degrees down) add authority and make handbags look more substantial.
Hero angles highlight signature details, get close to stitching, hardware, or textures that show off craftsmanship.
Dynamic angles (rotating the product 30-45 degrees) prevent stiff, boring compositions. Movement draws the eye in.
Avoid extremes that distort proportions or cheapen the look. Low angles can make things look imposing, and high angles can flatten out the shape.
The relationship between your lens and your key light matters a lot for shadow placement and overall mood.
Mastering Lighting for Irresistible Images
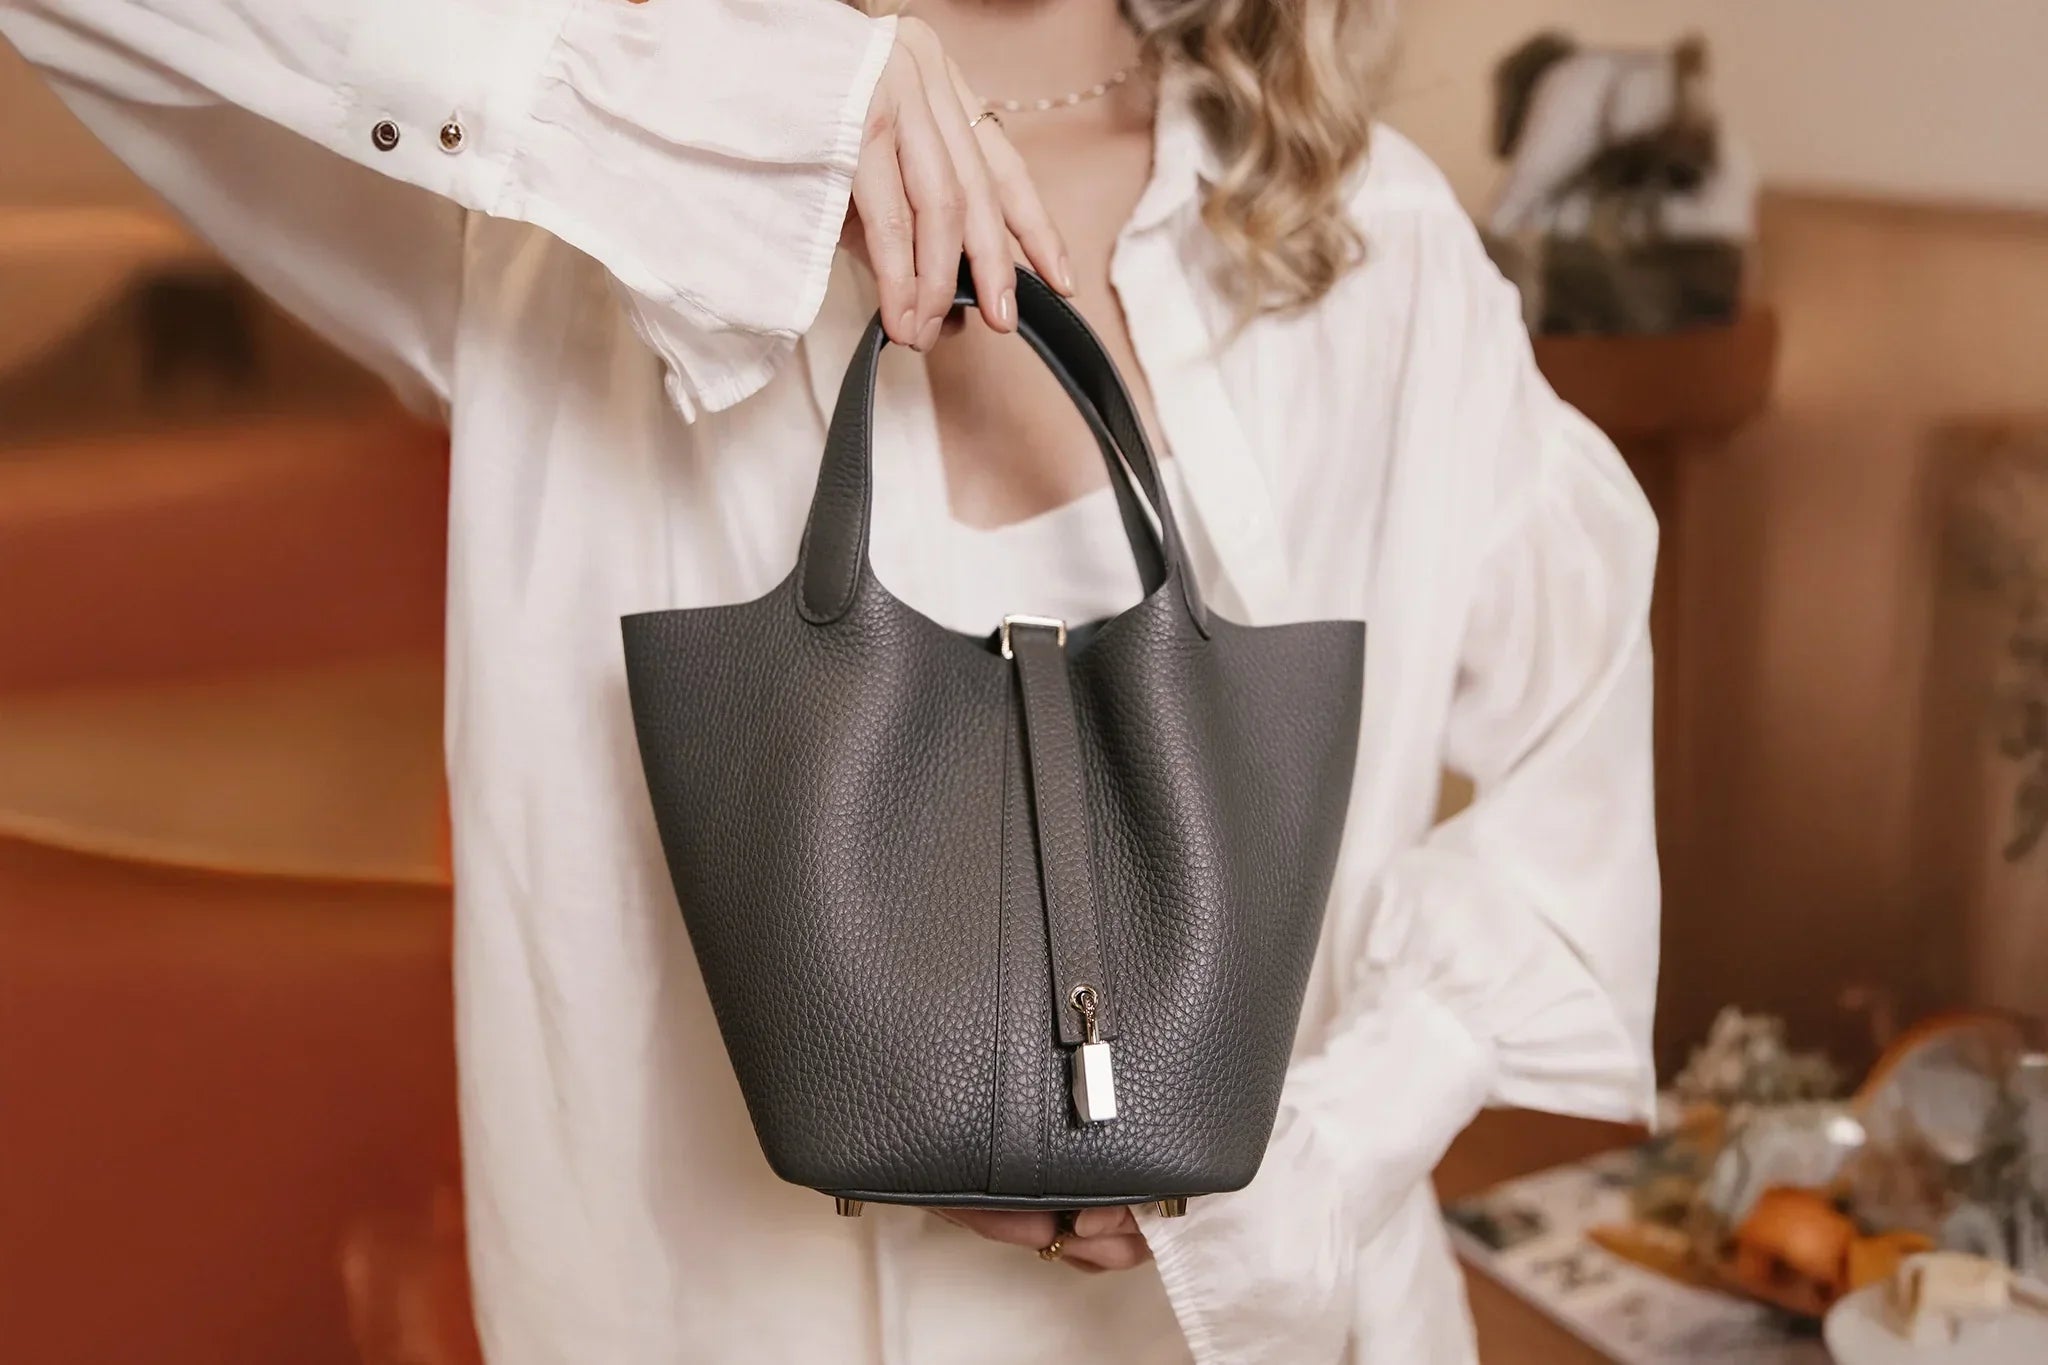
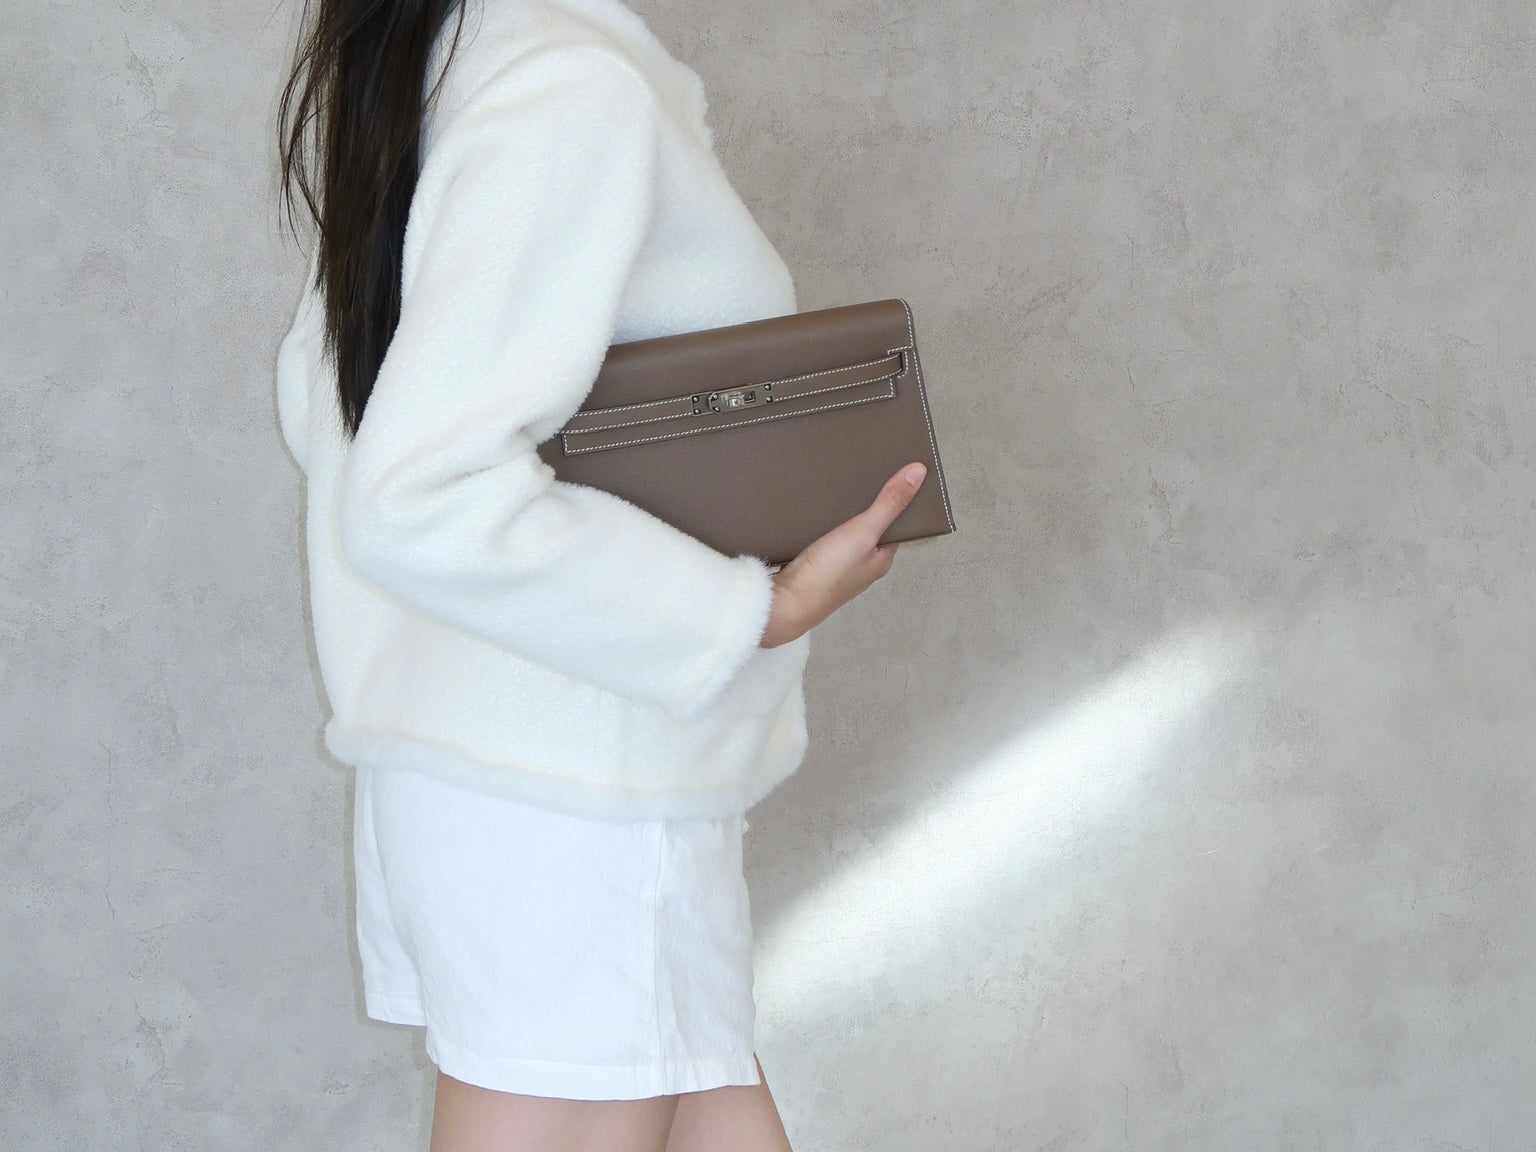
Lighting can turn a standard product photo into an image that makes people want to buy. Soft, flattering light on a Hermès Kelly bag? That’s the difference between a scroll-past and a sale.
Soft Lighting vs. Hard Lighting: When to Indulge
Soft light is the go-to for luxury. Use large light sources or diffusion to wrap the product in gentle, even illumination.
For high-end items, soft light brings out texture without creating harsh contrast. It’s ideal for leather, jewellery, and delicate fabrics.
Hard light gives sharp shadows and can look bold or editorial. It’s not for every product, but it works for geometric shapes or more avant-garde shots. A bare flash can make a simple scarf look unexpectedly dramatic.
Match your light quality to the brand and the product. It’s not always obvious, so experiment a bit.
Natural Light: Harnessing Golden Hour and Beyond
Golden hour that first or last hour of sunlight, gives your photos a warm, rich glow. We try to shoot luxury products during these windows whenever possible. The light wraps around objects, highlighting textures and metallics in a way that feels expensive.
North-facing windows give steady, soft light all day, which is perfect for detail shots.
On cloudy days, the sky becomes a giant softbox. It’s ideal for reflective items like watches or patent leather, no harsh glare, just clean shine.
A quick tip: grab a white foam board and bounce some light back onto shadowy areas. It’s a simple fix that can save a shot.
Artificial Lighting: LED Panels, Softboxes, and More
LED panels give you steady colour and brightness, so you’re not at the mercy of the weather. Adjust the mood however you want, no waiting on the sun.
Modern LEDs mimic daylight and work great for both photos and videos of luxury products.
Softboxes are a staple for creating big, soft light. A 60cm softbox at 45 degrees gives handbags and accessories beautiful shape and depth. Stack a few softboxes for more complex setups.
Ring lights give a distinctive circular catchlight and can reduce shadows for small jewelry items, but they often create strong reflections, many pros prefer diffused micro-lights, small softboxes or a polarizer for cleaner gemstone shots.
With artificial lighting, you’re in total control. No more chasing daylight or worrying about clouds.
Lighting Angles That Elevate Luxury Photography
The way you angle your lights can totally change the mood and highlight what matters most.
Front Lighting: Flawless Illumination
Front light gives you even, all-over coverage, perfect for showing off every detail. Place your main light right in front of the product to wipe out harsh shadows.
This works especially well for items where craftsmanship is the selling point. You get true colours, real textures, and a clean, professional look.
We often use a big softbox or a ring light at camera height for these shots. Sometimes we’ll add a second front light at a different height for a little extra depth without losing that evenness.
Side Lighting: Contour and Drama
Side lighting brings out texture and dimension. Place your light 45-90 degrees to the side, and you’ll see shadows that make leather, metal, or fabric look rich and tactile.
At 45 degrees, you get a nice balance of light and shadow. Go to 90 degrees for maximum texture.
If your product has interesting surfaces or shapes, side lighting will really make it pop. It’s a go-to for adding that “wow” factor.
Backlighting: Effortlessly Striking Silhouettes
Backlighting gives you those elegant rim lights that separate your subject from the background. Place lights behind (and maybe a bit above) your product.
This creates a glow around the edges, great for glass, crystal, or anything with a cool shape.
We’ll sometimes use multiple backlights for an even rim, or throw in coloured gels for a mood boost. Diffusion panels help soften any harshness.
Backlighting, especially when layered with front or side light, adds that high-end, exclusive vibe.
Lighting Techniques and Tools for Perfect Shots
The right tools and setups can take your photos from “nice” to “I need that.”
Reflectors and Modifiers: Finesse Your Glow
Reflectors let you bounce light where you need it. A cheap white foam board can fill in shadows on a bag or ring way better than you’d think.
Silver reflectors give sharp, bright highlights, great for metallics. Gold reflectors warm up leather goods. Place them opposite your main light to bounce light back.
Softboxes are essential for turning harsh light into that dreamy glow you see in fashion ads.
Key reflector spots:
- Fill: 45 degrees from the subject, opposite the main light
- Rim: Behind for edge highlights
- Background: Off the ceiling or backdrop for even spread
Umbrellas give you soft, wide light, handy for bigger products or group shots.
Lighting Setups for Portraits and Products
The classic three-point lighting setup works for both people and products. Main light at 45 degrees for shape, fill light to soften shadows, background light for separation.
For handbags, we put the key light slightly above and to one side for subtle shadows that show off texture.
Portrait tips:
- Key light at or just above eye level
- Fill at about a third the power of the main light
- Hair light from behind to pop the subject off the background
For product shots, bigger light sources close to the subject erase harsh shadows. Sometimes, window light and a white bounce card do the trick.
Ring lights are perfect for jewellery, no shadows, just shine.
Balancing Multiple Light Sources
We check light ratios with the camera’s meter or a handheld one. Usually, the main light is about twice as bright as the fill for a natural look.
If you mix daylight and artificial light, match your colour temps, 5600K LEDs pair well with window light.
Typical light ratios:
- 2:1: Gentle shadows
- 3:1: More contrast
- 4:1: Strong shadows
We’ll fire off a few shots at different exposures to spot any hot spots or spots that need fill.
LED panels keep the colour and brightness steady all day. No overheating or weird colour shifts.
Captivating Angles for Maximum Visual Allure
Angles are where you can really get creative and make your luxury products stand out.
High and Low Angles: Adding Grandeur
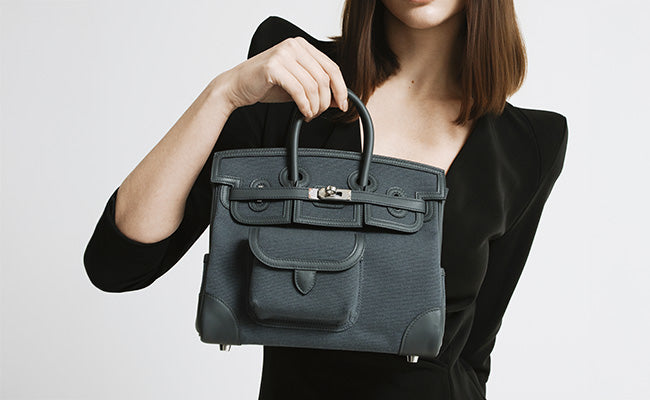
High angles (shooting from above) create intimacy and let you show off details, like the construction of a Birkin bag. You can see stitching, hardware, and symmetry you’d miss otherwise.
Low angles (shooting from below) give the product a commanding, almost monumental feel. Shooting up at a Kelly bag, for example, turns it into a piece of art.
Mixing up your camera height changes the vibe:
- Chest level: Feels natural and inviting
- Waist level: Classic product shot
- Floor level: Dramatic, editorial
- Overhead: All about the craftsmanship
Ground-level shots work especially well with structured items, the geometry gets a boost from an upward perspective. And honestly, sometimes you just have to try a few angles and see what works best. Isn’t that half the fun?
Dynamic Angles for Drama and Movement
Diagonal compositions crank up the energy in otherwise static luxury shots. Tilting the camera even 15-30 degrees adds a bit of visual tension, but we’re careful not to lose that sense of sophistication.
The Dutch angle works wonders for editorial handbag shoots, just a subtle tilt and suddenly it feels intentional, even artistic. Go too extreme, though, and it can look a bit gimmicky, especially with high-end pieces.
Side angles are underrated. Three-quarter views let us show off front details and those gorgeous profile curves at the same time.
Take the Constance bag’s H-clasp. We’ll angle the shot so you get the closure’s mechanics and the leather’s texture together. Side lighting just makes those dimensional features pop.
Behind-the-product angles shake things up and add a bit of mystery. Shooting from the back can make even a familiar item seem new.
Movement simulation with angles:
- Leaning forward? Implies motion.
- Tilt back a bit and you’ve got stability.
- Side angle? Looks like the bag’s in motion.
- Overhead spins show off the full 360.
We want viewers to feel like they’re discovering these pieces on their own. The angle isn’t just technical, it’s part of the luxury story.
Choosing the Most Flattering Angle Each Time
We start every shoot by analyzing the product. What’s its strongest design feature? That’s what we want to highlight.
Structured bags like the Birkin look best straight-on or at a slight three-quarter angle. Those shots nail the iconic silhouette. The side profile is instantly recognizable too.
Soft goods think silk scarves, are a different game. Overhead shots work best, especially when you arrange the fabric so it falls naturally. The organic shapes play off the camera’s geometry.
For hardware:
- Turn-locks: Go straight-on or just off-center to show how it works.
- Zippers: Side angles reveal the quality.
- Buckles: Three-quarter view, shows both function and style.
- Clasps: Get close. Show off the engineering.
We always keep brand recognition in mind. If a shape is iconic, we don’t obscure it.
Lighting and angle have to work together. Front-facing shots love soft, even light. Side angles? They need directional lighting for those gentle shadows.
We’ll try a bunch of positions and check the images as we go. Digital capture makes it easy to see what’s working. The best shot feels like it has both drama and clarity.
Curating Backgrounds That Command Attention
A great background can turn a product shot into a statement. The right setting sets up the hierarchy, kills distractions, and reinforces the brand’s vibe.
Minimalist and Seamless Backgrounds
Clean backgrounds let the product do the talking. White seamless paper or an infinity cove gives you that high-end, editorial look you see in magazines.
Seamless paper erases distracting edges and gives smooth gradients. Lighting at about 45 degrees keeps harsh shadows off the backdrop.
Neutral tones soft greys, creams, whites, are the safe bet for luxury. They boost the product’s color, never compete with it.
We like gradient lighting for a touch of depth. Aim a light behind the subject, at the background, and you’ll get a gentle transition.
For Hermès bags or jewelry, a clean backdrop makes every detail pop. Nothing distracts from the leather or hardware.
Pro tip: Add a second light to the background so it doesn’t go dead black. This separation trick helps your subject stand out.
Textured and Creative Backdrops
Textured backgrounds bring context and personality. Marble, linen, wood, these all hint at sophistication without stealing the spotlight.
Natural textures are a go-to for premium brands. Carrara marble says timeless, while walnut wood gives you that heritage feel.
Side lighting really brings out backdrop texture. Low angles, lots of shadow, and suddenly the surface comes alive.
Pick your texture based on the brand story. Vintage leather works for watches, silk for jewelry.
Fabric backdrops are flexible and easy to swap. Velvet gives drama, linen is subtle but interesting.
Scale matters. Big patterns can swallow small products, while tiny textures vanish in wide shots.
Colour temperature makes a difference. Warm light flatters wood and leather. Cool light suits metal and stone.
Colour Theory and Contextual Backgrounds
Color can make or break product shots. Complementary colors help products stand out. Analogous colors keep things harmonious.
Luxury palettes usually lean muted. Burgundy, navy, forest green, they say premium without screaming for attention.
Use the color wheel to your advantage. Orange backdrops make blue products pop. Purple backgrounds flatter yellow gold.
Brand consistency is non-negotiable. Backdrop colors need to match the brand’s guidelines and what the audience expects.
Colors carry meaning. Black is all about sophistication. Gold screams prestige. Deep blue suggests trust.
Contextual backgrounds tell a story. Architecture hints at urban luxury. Nature feels organic and high-end.
Test different combos with your products. What works for handbags could flop with watches or cosmetics.
Temperature balance between key and background lights keeps color schemes feeling natural.
Luxury Photography in Practice: Portraits and Products
Luxury photography isn’t just about technical skill, it’s about vision. The pros know how to control lighting, pick the right backgrounds, and blend everything into a compelling image.
Portrait Photography: Classic Lighting Formulas
We stick to tried-and-true lighting setups for portraits. Rembrandt lighting is a favorite, gives you that classic triangle of light on the shadow side.
A key ring light at 45 degrees gives even light but keeps some depth. Add a fill light at half power to control shadow contrast without flattening the face.
For ultra-luxury, we’ll use a clamshell setup:
- Main light above at 45 degrees
- Fill reflector below
- Background light for separation
- Maybe a hair light for extra polish
Butterfly lighting is fantastic for beauty and fashion. Main light right above the camera, shadow under the nose, it’s a classic.
Light ratios matter. We usually stick to 3:1 or 2:1 between key and fill. That keeps shadow detail but still feels dramatic.
Product Photography: Clean Lines and Flawless Backdrops
Luxury product shots demand a sharp eye for detail. We aim for clean compositions that let the product’s craftsmanship take center stage.
White seamless backgrounds dominate luxury e-commerce. Consistent, simple, and they let the product shine. We’ll use big softboxes at 45 degrees to kill harsh shadows but keep some form.
For textured products, leather, watches, side lighting is key. A snoot or grid keeps the light precise and stops it from spilling everywhere.
Gradient backgrounds add a touch of sophistication. We’ll use:
- Two background lights, each at different strengths
- Colored gels for mood
- Gobos for controlled fall-off
Macro photography is a must for showing off fine details. Focus stacking keeps the whole product sharp, and polarizing filters tame reflections on shiny surfaces.
Pairing Backgrounds and Light for Iconic Shots
Background and lighting have to work together. They’re not separate, they’re partners in telling the story.
High-key lighting with pure white backgrounds gives that clean, premium look. Multiple lights wipe out shadows and give even illumination.
For contextual luxury, lighting matches the environment. Warm tungsten looks great with rich wood. Cool daylight suits modern, minimalist spaces.
Colored backgrounds need careful light balancing. Here’s a quick cheat sheet:
| Background Colour | Light Temperature | Recommended Setup |
|---|---|---|
| Deep navy | 5600K | Key + fill + background separation |
| Charcoal grey | 3200K-4000K | Dramatic side lighting |
| Cream/ivory | 5200K | Even, soft illumination |
Reflective surfaces double the wow factor, but you have to control them. We position lights to dodge unwanted reflections but keep that shine.
Textured backgrounds need directional lighting to show off their character. We’ll use barn doors and flags to keep light where we want it.
Frequently Asked Questions
Luxury photography calls for specific techniques to capture that sense of exclusivity and craft. Here are some answers to common challenges:
What are the most glamorous lighting techniques to showcase the luxurious texture of a Hermès bag?
Soft, diffused lighting is your friend. Set your key light at 45 degrees to get gentle shadows that highlight the leather’s grain.
Side lighting is especially good for crocodile or alligator pieces, it brings out every subtle texture.
A big softbox or umbrella spreads even light over the whole bag. Hard shadows? Not flattering here.
A reflector opposite your main light fills in shadows nicely, keeping detail in both highlights and darks.
For hardware, like buckles and clasps, a slightly harder light source adds the contrast you need to make metals shine.
Could you suggest sophisticated background choices that accentuate the exclusivity of ultra-luxury items in photographs?
Stick with neutral tones, white, soft gray, warm cream. They let the product take the spotlight.
Textures like marble, aged leather, or silk add depth but stay classy. They complement, not compete.
Gradient backgrounds that fade from light to dark give natural depth and draw the eye to the product.
Subtle architectural touches, stone, fine wood, suggest quality and permanence.
For lifestyle shots, upscale home settings work wonders. Marble countertops, hardwood, premium fabrics, they all say “affluent.”
Black backgrounds can be dramatic for some items, especially those with metallic or light-colored details.
What's the secret to capturing the perfect angle that highlights the exquisite craftsmanship of high-end products?
We almost always start with a three-quarter view. It shows both the front and side, so you see construction, hardware, and proportions all at once.
A shot from slightly below eye level adds a sense of grandeur, making the product feel important.
Close-ups are essential. Focus on stitching, engravings, or unique textures.
Overhead shots are great for flat items or styled scenes, lets you see symmetry and design clearly.
We avoid wild angles that distort the product. Classic, elegant shots keep the luxury vibe.
We capture multiple angles in one shoot to cover every detail.
How important is prop selection in elevating the perceived value of luxury goods in a photo shoot?
Props matter, a lot. They set the context and hint at a lifestyle, but shouldn’t steal the show.
Go for quality: real flowers, premium paper, fine crystals. Props should match the product’s luxury level.
Less is more. Too many props clutter the scene and cheapen the look.
Pick props that suggest how the product is used. For handbags, maybe add gloves, a silk scarf, or a bit of jewelry.
Color coordination is key. Props should complement or be neutral, never fight with the product.
It’s worth investing in authentic luxury props. Cheap stuff will drag down the whole impression.
In the realm of opulence, how can one use photography to tell a compelling story about an ultra-luxurious lifestyle?
Storytelling comes down to scene composition. Every detail should whisper luxury.
Location is huge. Private jets, luxury hotels, exclusive clubs, elegant homes, they instantly set the stage.
Layering luxury items adds richness. A Hermès bag with fine champagne, jewelry, and premium stationery? That’s a story.
Focus on real moments: prepping for an event, private shopping, or intimate luxury experiences.
Lighting sets the mood. Warm, golden light feels exclusive and inviting. Crisp daylight can be bold and confident.
When people appear, they should embody refinement, think manicured hands, quality fabrics, elegant posture. It’s all part of the story.
Can you share tips on balancing natural and artificial light to bring out the ritzy shine of high-end merchandise?
We usually start with natural window light, it’s soft and makes everything look a little more inviting. North-facing windows? They’re a favorite because the light stays steady all day, no weird shadows suddenly creeping in.
Artificial lights come in handy for filling in shadows and popping a few highlights where you want them. I like LED panels or strobes since you can tweak their brightness and color temp on the fly.
You’ve got to match the color temperatures between your window light and your LEDs, or you’ll get some odd color casts that just look off. Most of the time, luxury products look their best in daylight-balanced lighting.
When you want to show off something like metallic buckles or a glossy finish, a small, focused light does the trick. You can aim it right where you want that extra sparkle.
Reflectors are a lifesaver for bouncing a bit more light into shadowy spots. I usually stick with white or silver, they keep things looking natural, not fake or over-lit.
Take test shots as you go. Tweak the artificial lights so they play nice with the natural light instead of drowning it out. It’s a bit of a dance, honestly, but when you nail it, the results can be stunning.