

DIY Repairs for Minor Hermès Bag Damage
Check out our Hermès collection and Birkin bags!
Owning a Hermès bag is pure joy, until that first scratch appears and reality hits: professional spa services can cost hundreds and take months. While we always suggest pros for big issues, minor stuff like light scratches, color fading, and hardware scuffs?
You can handle those at home with the right approach and products. Picking up some basic DIY repair skills for minor damage can save time, money, and keep your favorite bag in rotation.
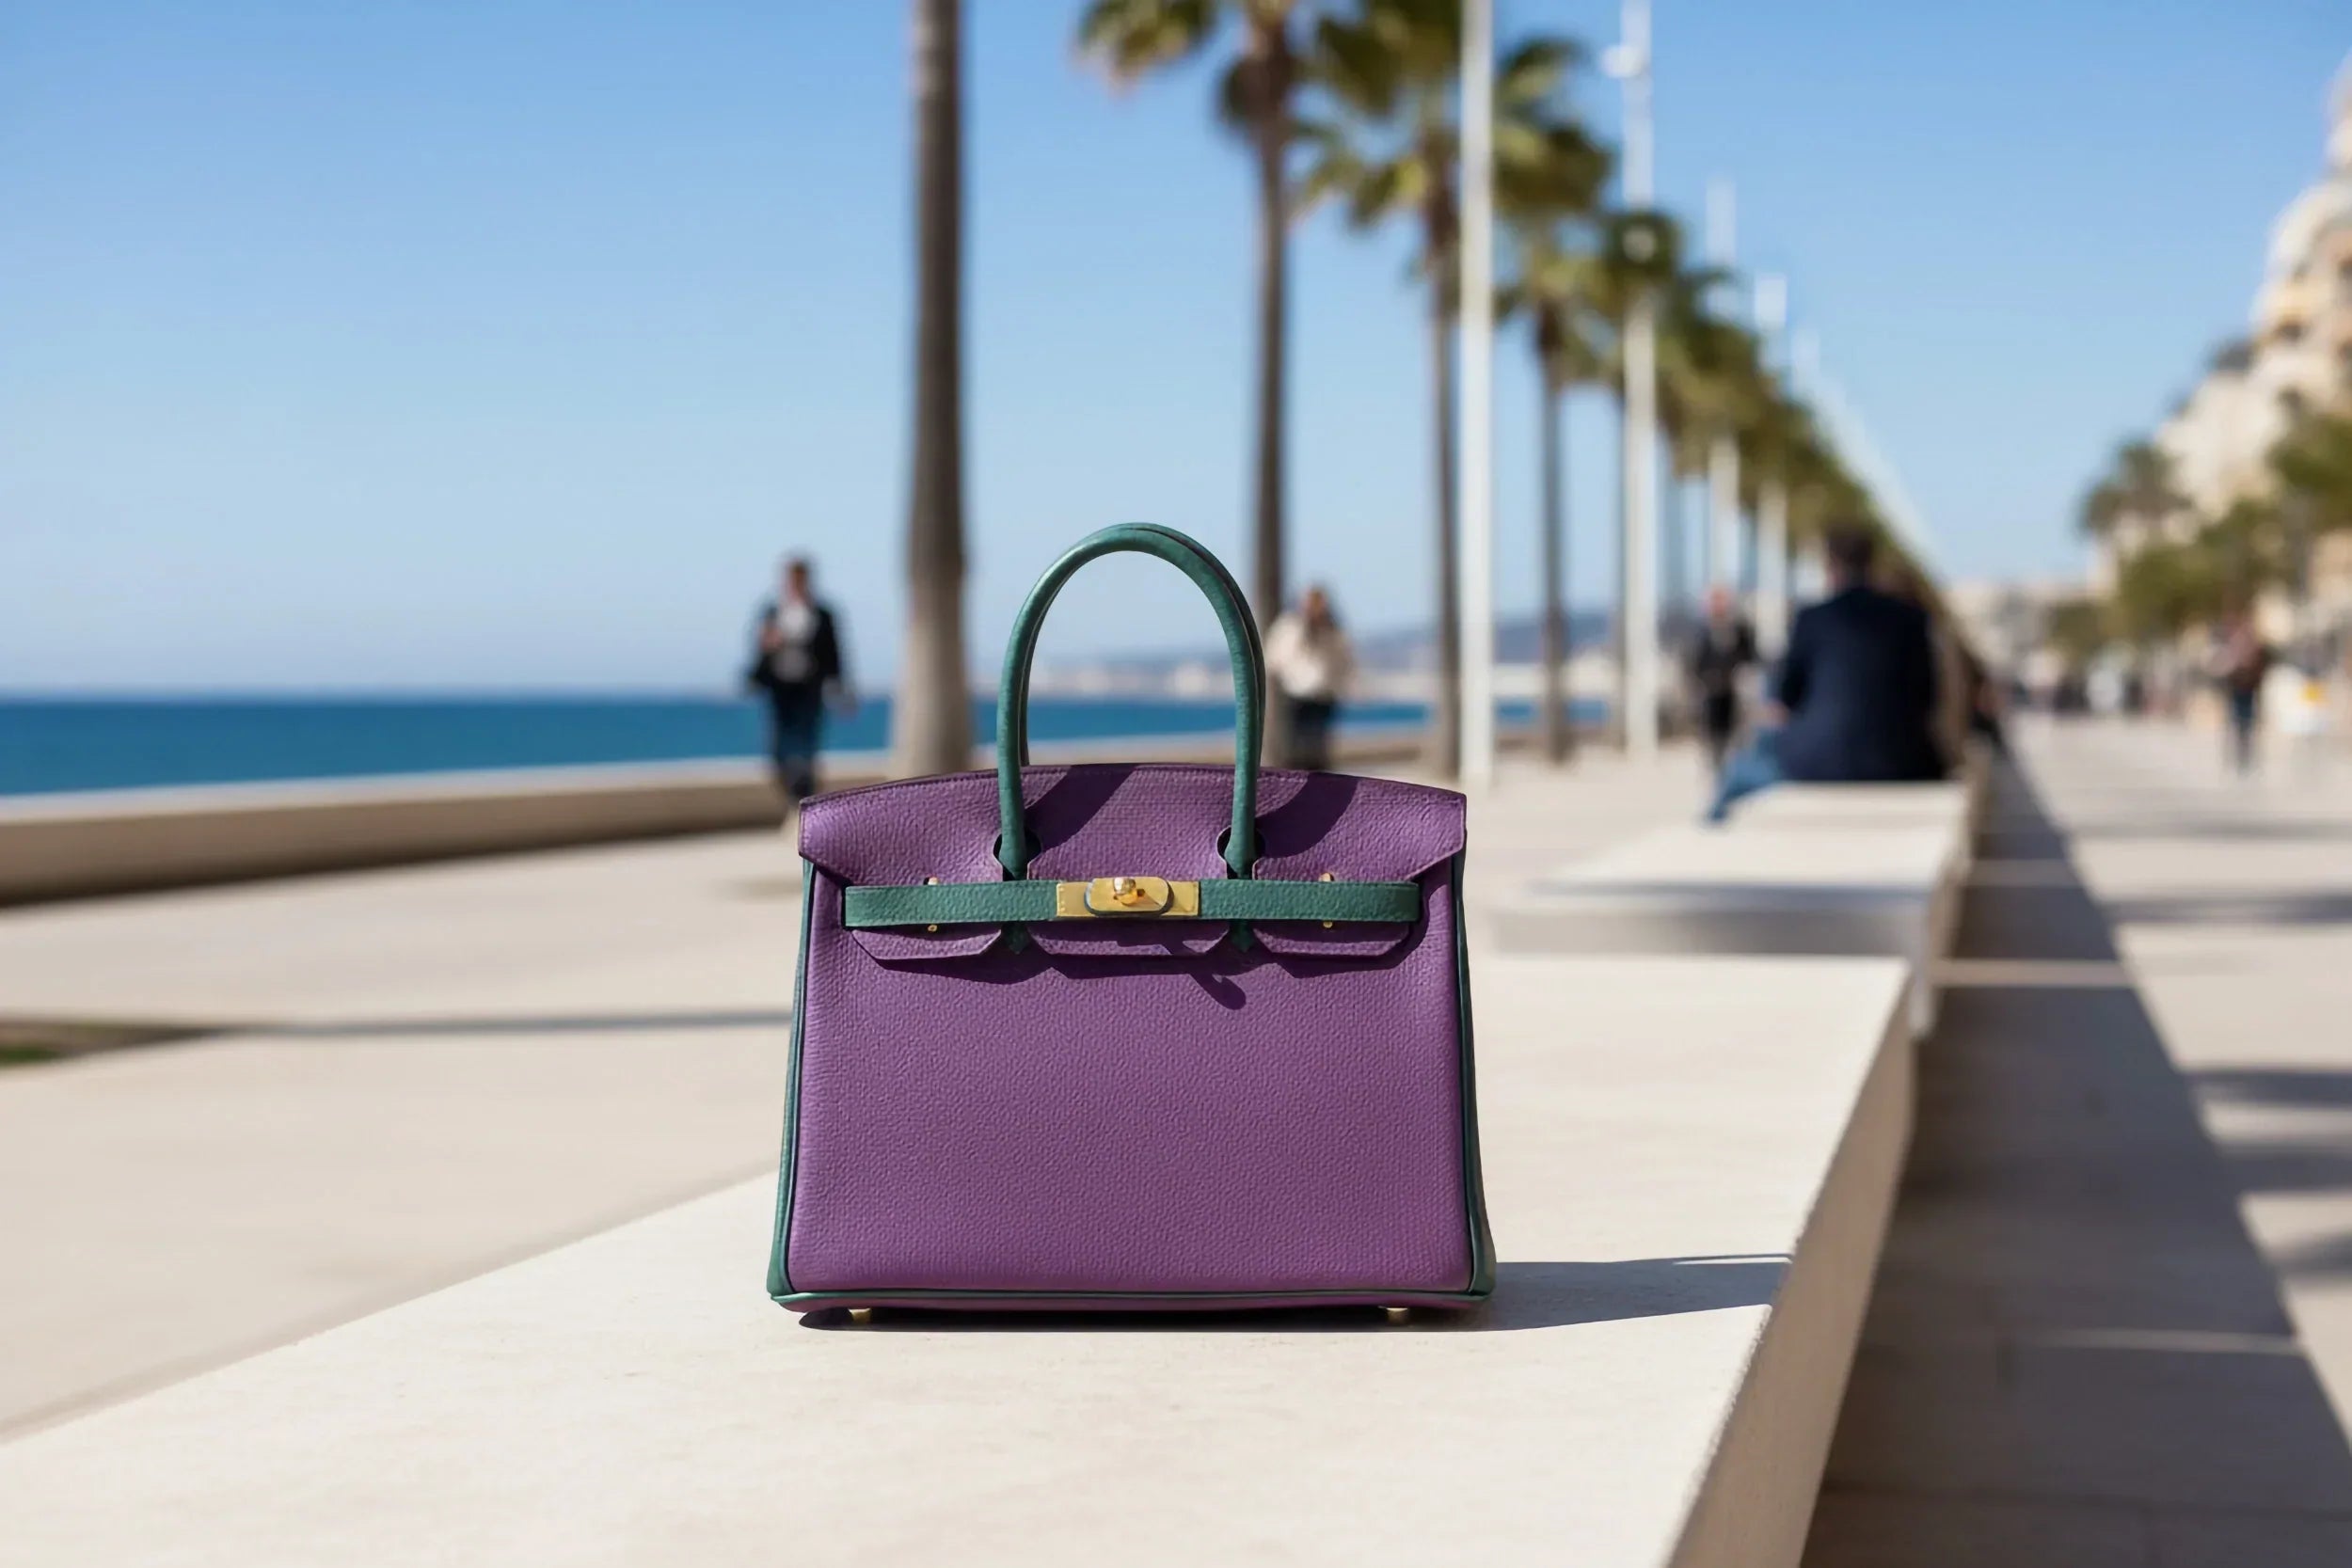
We've all been there, spotting a tiny scratch on a Birkin or Kelly and panicking about repair costs and downtime. The upside? Plenty of Hermès lovers have tackled small repairs with quality leather care products.
DIY works especially well on hardy leathers like Epsom and Box Calf, though every leather has its quirks.
Before getting into repair techniques, let's be clear: DIY is only for minor stuff, light scratches, slight color fading, dulled hardware. Deep gouges or anything structural? Leave that for the experts.
We'll cover the tools, products, and steps that real collectors swear by, so you can keep your investment pieces looking sharp between spa visits.
Key Takeaways
- You can often fix minor scratches and color fading with quality leather products.
- Every Hermès leather needs its own care approach; some are more DIY-friendly than others.
- Prepping right, using gentle techniques, and regular upkeep can help you avoid expensive repairs.
Understanding Hermès Leather Types and Bag Designs
Every Hermès leather type needs its own repair approach, and classic bag designs like the Birkin have their weak points. Exotic skins? They need extra caution.
Recognizing Classic Hermès Leather Finishes
- Togo leather is the go-to for Birkins and other classics. Its fine-grained texture hides minor scratches pretty well. Usually, you can buff out light surface damage with gentle circles.
- Epsom leather has a pressed grain and feels more structured; it's scratch-resistant but less forgiving if you puncture it. The embossed surface makes color matching tricky.
- Swift leather is smooth and soft, but it shows wear easily, think corner rubs and handle wear. On the bright side, it soaks up conditioning treatments nicely.
- Clemence leather is heavy, matte, and slouchy. It gets more character over time. Minor scratches usually blend in with the grain, so small fixes are less obvious.
Identifying Exotic Skins
- Crocodile (Porosus and Niloticus) skins are Hermès' crown jewels. Handle with extreme care, scales can lift or crack if you get it wrong.
- Ostrich leather has those signature quill bumps. Don't press on them during cleaning or conditioning.
- Lizard skin is delicate and cracks along natural lines. Only use specialized conditioners, and keep it away from excess moisture.
- Honestly, don't risk DIY on exotics. The price of a mistake is way higher than any repair bill.
Common Structural Vulnerabilities
- Handle attachment points take the most stress. Watch for loose stitches or tiny tears here. Fixing early can save you from a total handle disaster.
- Corner wear hits all Hermès leathers, but looks different on each. Togo shows slow lightning, Swift scuffs fast.
- Closure mechanisms, that iconic Birkin turn-lock, stress the leather around them over time.
- Piping and edges get constant friction, so they’re usually the first to show fading or cracking.
Preparing for DIY Repairs: Tools, Products, and Safety
Getting good results with Hermès repairs means picking the right conditioners, using quality tools, and always testing before you start.
Choosing Suitable Leather Conditioners
Not all conditioners are safe for Hermès bags. Stick with products made for luxury leather, not whatever’s under your sink.
Look for:
- Neutral pH conditioners
- Colorless formulas
- Products made for fine leather
Hermès uses all sorts of leathers, Togo, Clemence, Epsom, and each reacts differently. Avoid anything with harsh chemicals, alcohol, or dyes.
Good ingredients:
- Natural oils (like neatsfoot or mink)
- Beeswax
- Lanolin
Skip these:
- Petroleum-based stuff
- Silicone
- Mystery chemicals
When in doubt, ask Hermès what they recommend.
Gathering Essential Repair Supplies
Your kit should have precision tools and decent materials. Cheap tools can do more harm than good.
Must-haves:
- Soft-bristled brushes (horsehair is great)
- Cotton swabs, lint-free cloths
- Plastic spreaders
- Fine-grit sandpaper (400+)
- Leather glue for small separations
Safety gear: Don’t skip this. Good ventilation keeps you from breathing in fumes, and nitrile gloves protect your hands.
Set up your workspace:
- Clean, bright area
- Drop cloths
- Airflow or fans
- Fire extinguisher if you’re using solvents
Quality over quantity, better three solid tools than a pile of junk that could ruin your bag.
Testing Products on Hidden Areas
Never skip a patch test. Even pricey conditioners can react badly with Hermès leather.
How to test:
- Pick a hidden spot (inside pocket, bottom corner)
- Dab a tiny bit on with a swab
- Wait at least 24 hours
- Check for color or texture changes
Keep an eye out for:
- Darkening or lightening
- Finish changes
- Stiffness or too much softness
- Any weird blotching
If anything looks off, stop right there. Some leathers react slowly, so patience is your friend.
Take photos of your tests. It helps you remember what works for each bag or leather type.
Cleaning and Conditioning Techniques for Minor Damage
Gentle cleaning and conditioning can fix a lot of minor issues before they get worse. These methods help restore shine and keep the leather healthy.
Surface Dust Removal and Detailing
Start every maintenance session by getting rid of dust. Even tiny dust particles can wear down your leather.
Use a soft-bristled brush or microfiber cloth to gently sweep away debris. Go in circles, and pay extra attention to corners and hardware.
For textured leathers like Togo or Clemence, a clean makeup brush is surprisingly effective. The soft bristles reach into the grain without scratching.
Don’t use compressed air, it can force dirt deeper or mess up the stitching.
After dusting, wipe the bag with a barely damp cloth. This clears away any leftover residue and preps the leather for conditioning.
Work from top to bottom so you’re not moving dust onto clean areas. Let it air dry completely before you move on.
Gentle Spot Cleaning
Minor scuffs and marks usually come off with gentle spot cleaning. Tackle them fast to avoid permanent damage.
Mix distilled water with a drop of pH-neutral soap. Always test first on a hidden spot.
Dab the solution on with a cotton swab, using small circles and barely any pressure.
For tougher marks, try a leather cleaner made for luxury bags. Use it sparingly and buff gently.
Ink stains? Move quickly. Blot (don’t rub) with a clean cloth, then dab on a bit of leather cleaner.
After cleaning, condition the area to keep it from drying out or cracking.
Treating Water Marks and Stains
Water marks are a common enemy. Fast action makes all the difference.
For fresh spots, blot right away with a clean, absorbent cloth. Work from the stain’s edge toward the center.
If the mark’s already set, mix a diluted vinegar solution (1:10 with distilled water). Dab it on with a cotton ball, let it sit for five minutes.
Oil stains need a different approach. Sprinkle cornstarch on, let it sit overnight, and brush it off in the morning.
For older stains, condition the whole panel, not just the spot, to keep the color even.
Always test first on a hidden area. What works on one leather could damage another.
Repairing Minor Scratches, Scuffs, and Colour Fading
You can often fix light scratches and color inconsistencies with careful buffing and targeted restoration; no need to risk the leather’s integrity.
Buffing Out Surface Scratches
Surface scratches usually respond to gentle buffing, as long as they’re not deep. Run your finger over the scratch; if it doesn’t catch, you’re in luck.
What you’ll need:
- Microfiber cloth
- Leather conditioner
- Cotton swabs
Clean the area with a slightly damp cloth. Add a bit of conditioner to your microfiber cloth.
Buff in circular motions with light pressure. The conditioner’s natural oils help the fibers realign and minimize scratches.
If the mark sticks around, let it dry, then repeat. Hermès leather’s natural oils help with minor self-repair when you treat it right.
Colour Restoration for Leather
Color fading usually comes from sun or constant handling; handles and corners are the usual suspects. Restoring color means matching your Hermès leather exactly.
How to match color:
- Clean the area with rubbing alcohol on a cloth
- Test dye colors on a hidden spot
- Mix dyes if you need to get the right shade
- Apply dye with a small brush, using light, even strokes. Build up slowly instead of slapping on a thick coat.
Let each layer dry before deciding if you need more. Finish with conditioner in circles to blend the new color with the old.
Patience is key, rush it and you’ll get patchy color that stands out more than the original fading.
Fixing Handles, Corners, and Hardware Issues
Handles, corners, and hardware usually show wear first, especially on Birkins. Luckily, you can handle most minor fixes with the right techniques.
Restoring Worn Handles
Handle wear is just part of life with a Hermès bag. First, check how bad it is.
For small scuffs, clean the handle with a soft, damp cloth. Let it dry, then use a high-quality conditioner.
Light scratches? Buff gently with a soft cloth in circles. Take your time and check your progress.
If there’s deeper wear, use a color-matched leather cream. Apply sparingly with a cotton swab, building up coverage bit by bit.
Heads up: Never try to reattach a handle that’s come off. That’s for the pros.
If stitching is loose, you can dab a little clear nail polish on the thread ends. It’ll hold things together until you get it fixed properly.
Repairing Frayed Corners
Corners take a beating, especially if you set your bag on rough surfaces. Catching it early saves money.
Start by cleaning the area with a barely damp cloth. Get rid of dirt that could make things worse.
For minor fraying:
- Trim loose fibers with sharp, clean scissors
- Use leather adhesive sparingly to stop further separation
- Press and let it cure for 24 hours
Surface scuffs on corners often look better after conditioning. Work the conditioner in with small circles.
Don’t use:
- Superglue or regular household glue
- Rough sandpaper
- Harsh cleaners
If the damage goes through several layers of leather, stop. Professional corner repair is the only way to keep your bag’s value and looks.
Polishing and Protecting Hardware
Tarnished hardware can ruin the look of any Hermès piece, and honestly, it's easier to prevent than to fix. A little routine care goes a long way.
Most hardware cleans up nicely with jewelry cloths made for precious metals. These cloths have gentle polishing stuff that won't scratch up delicate finishes.
For gold-plated hardware:
- Stick with soft microfiber cloths
- Use barely any pressure, gentle is key
- Polish in straight lines, not circles
For palladium hardware:
- You can polish a bit more firmly here
- Use metal polish, but only a tiny amount
- Always test first on a hidden spot
Some people like to add a coat of clear nail polish after cleaning hardware. It can help keep tarnish at bay and block out moisture, but it's a personal call.
Red flags, time to stop DIY:
- Plating starts flaking off
- Hardware feels loose or wobbly
- You spot deep scratches
Wrapping hardware in soft cloth before storing your bags helps avoid new scratches. It's a simple habit but makes a difference.
Preventing Further Damage and Proactive At-Home Maintenance
A bit of daily attention and smarter storage can save you a lot of grief later. You don't want a minor oversight turning into a big, expensive problem.
Safe Storage and Environmental Protection
We keep our Hermès bags tucked in their original dust bags when they're not out and about. Those fabric covers let the leather breathe and keep dust and scratches away, plastic just traps moisture, which is a nightmare.
Temperature can mess with your bags more than you'd think. We steer clear of hot vents, sunny windows, and damp basements. Heat dries out leather, while humidity? That just invites mold.
Storage basics:
- Original dust bags or any breathable fabric
- Acid-free tissue paper to hold shape
- Silica gel packets if your place is humid
- A cool, dry closet, not next to a window
We stuff bags with just enough acid-free tissue to keep them from sagging. Never newspaper, the ink is risky. And don't let a bag sit in the same spot for ages. Shifting them every so often helps avoid those stubborn creases.
Daily Handling Habits
Clean hands matter. We always wash and dry before touching our Hermès bags, especially if we've just used hand lotion or perfume.
Everyday handling tips:
- Support the base when picking up
- Don't cram too much inside
- Close clasps and zippers so the bag keeps its shape
- Never set bags down on the floor or rough surfaces
We're picky about what goes in our bags. Keys get their own pouch, pens stay zipped in a pocket, no leaks, please.
Weather can sneak up on you. We usually tuck a small umbrella or scarf in the bag for surprise showers. If it gets wet, we blot with a lint-free cloth and let it air dry, no heat, no hairdryers.
A quick dust with a microfiber cloth every week keeps dirt from settling in. It's easy, and your bag will thank you.
When to Seek Professional Help
Call in the pros for:
- Deep scratches that go through the leather
- Stains that don't budge with gentle cleaning
- Hardware that's tarnished or not working right
- Loose or fraying stitching
We know when to step back. Surface cleaning is one thing, but real repairs need Hermès-trained hands and the right tools.
If you see color transfer, water spots on exotics, or anything weird with the saddle stitching, reach out to Hermès or an authorized repair shop.
And don't force stuck hardware, loose locks, sticky zippers, bent clasps. Trying to fix it yourself can make things worse.
If you're on the fence about fixing something at home, it's usually safer (and cheaper in the long run) to let the experts handle it.
Frequently Asked Questions
You can handle most small Hermès bag issues at home if you go slow and use the right products. Light scuffs, water marks, and minor hardware scratches often clean up with some patience.
What are some simple fixes for a scuffed Birkin?
Light scuffs on Togo or Clemence leather usually fade with a gentle buff using a soft, dry microfiber cloth. We follow the grain and use small, circular motions.
For deeper marks, a little luxury leather conditioner on a cotton swab can help.
Box calf is a bit tricky. It shows marks easily but sometimes responds to a barely damp cloth, followed by a quick dry. Don't overdo it.
We skip household cleaners, shoe polish, or heavy rubbing. Those can wreck the finish and mess with any warranty.
Can I handle a loose stitch on my Hermès bag at home, or is that a no-go zone?
Loose stitching on a real Hermès is almost always a job for the pros. Their thread and techniques are unique, and matching them at home is next to impossible.
If it's just a single loose thread, we might snip it with sharp scissors, getting as close as possible without nicking the leather.
If the seam itself is coming undone, we stop using the bag right away. Using it more just makes the problem worse.
Also, Hermès won't service bags that have been fixed elsewhere. So, for anything more than a stray thread, stick with authorized repairs.
Spotted a tiny rip on my Kelly, any DIY tips before I hit panic mode?
A small tear needs immediate attention. We stop using the bag and don't touch the area more than necessary.
On soft leathers like Clemence, sometimes gently pressing the edges helps them settle, but we never pull or stretch the tear.
A drop of clear leather adhesive (the kind made for luxury bags) on the back of a tiny tear can help, but we always test first and use as little as possible.
Really, though, tears are best left to professionals. Invisible repairs that keep the leather strong are tricky, you don't want to risk it.
Scratched the hardware on my Hermès, DIY polish or professional fix?
Light scratches on palladium or gold hardware usually buff out with a jewelry cloth. We use light, circular motions and don't press too hard.
For deeper scratches, a dab of metal polish on a cotton swab can help; test on the feet first, since they're less obvious.
With brushed hardware, we stick to dry polishing. Liquids can mess up the texture and leave weird spots.
If a scratch is deep enough to catch your fingernail, it's probably time for a pro. Sometimes, only Hermès can replace badly damaged hardware.
Discovered a watermark on my Birkin suede: do-it-yourself clean up or seek expert care?
Suede water marks need a gentle touch. We blot with a clean, absorbent cloth, no rubbing.
Once it's dry, a suede brush (used in one direction) can help bring back the nap. Sometimes, a little steam from a kettle, held far away, will lift the mark, but we always test first.
Hermès suede is delicate and pricey. If you're not sure, it's smarter to let a professional handle it. Keeps the bag looking good and holds its value.
Is there a home remedy to freshen up my Hermès leather without ruining its luxe vibe?
Baking soda in a breathable pouch, just toss it inside the bag overnight, can soak up odors pretty well. I usually go for a clean cotton or muslin bag so the powder doesn’t touch the lining.
If there’s some surface dirt, a slightly damp cloth (distilled water only) does the trick, no need for anything harsh. After wiping, I make sure the leather dries fully, then follow up with a conditioner that’s actually meant for Hermès leather.
For those stubborn smells that just won’t quit, I’ll mix white vinegar and distilled water (half and half), dab a cloth, and gently wipe the inside. Never the outside, though, no way I’m risking that finish.
Honestly, I steer clear of household cleaners, baby wipes, or anything with alcohol. Those just mess up the leather’s natural oils and can wreck the look for good.